In today’s innovation-driven world, building an electronic prototype is the bridge between an idea and a market-ready product. Whether you’re designing the next big IoT device, developing a new sensor system, or creating a smart wearable, the process of prototyping is crucial. This article walks you through the essential steps of creating an electronic prototype and shares practical tips that align with Google’s quality guidelines and EEAT (Experience, Expertise, Authoritativeness, and Trustworthiness) principles.
What Is an Electronic Prototype?
An electronic prototype is a working model or proof of concept used to test, validate, and refine the electronic design of a product before mass production. Unlike a conceptual model, a prototype is functional and helps in understanding how the final product will behave in the real world.
Prototyping allows engineers and innovators to identify design flaws, evaluate performance, and make necessary changes early in the hardware development cycle. It also helps in communicating ideas to stakeholders and potential investors.
Define the Purpose of the Prototype
Every successful electronic prototype starts with a clear objective. Are you building the prototype to test a new technology, validate market interest, or demonstrate functionality to potential investors?
There are several types of prototypes:
- Proof of concept – Verifies feasibility of an idea.
- Functional prototype – Demonstrates core features and performance.
- Looks-like prototype – Focuses on appearance, not electronics.
- Works-like prototype – Focuses on core functionality.
By knowing the goal, you can plan your resources and timeline accordingly.
Gather Requirements and Create a Specification Sheet
Once you know your purpose, create a detailed requirements document. This should include:
- Functional requirements
- Power requirements
- Connectivity (e.g., Wi-Fi, Bluetooth)
- Sensor or input/output needs
- Size constraints
- User interface design
This specification sheet will guide your electronic design and ensure everyone involved in the project understands what the prototype must accomplish.
Choose the Right Components
Selecting the correct components is critical for a successful electronic prototype. Consider the following when making choices:
- Microcontrollers or microprocessors: Platforms like Arduino, Raspberry Pi, and ESP32 are commonly used in prototyping.
- Sensors and actuators: Based on your application (temperature, motion, light, etc.).
- Power sources: Batteries, USB, or other regulated power supplies.
- Communication modules: For IoT devices, use Wi-Fi, LoRa, Zigbee, or cellular modules.
- Displays and interfaces: LCDs, LEDs, buttons, or touchscreens.
Ensure the components are compatible with each other and available for quick delivery to avoid project delays.
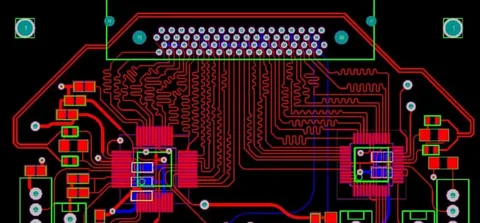
Design the Circuit
With your components selected, begin the circuit design phase. Use tools like:
- Fritzing – Great for beginners
- Eagle – Professional-grade PCB design tool
- KiCad – Open-source software with a broad user base
- Altium Designer – High-end tool for complex electronic design
Start with a breadboard or schematic simulation to validate your connections. Be cautious of voltage levels, signal interference, and pin compatibility.
Build a Breadboard Prototype
Before investing in a custom PCB, build a breadboard version of your circuit. Breadboards allow you to quickly test and modify the circuit without soldering.
This stage helps:
- Validate component functionality
- Check signal flow and data communication
- Debug issues before finalizing design
Take notes of any issues during this phase and document changes. This version may look messy, but its goal is pure functional testing.
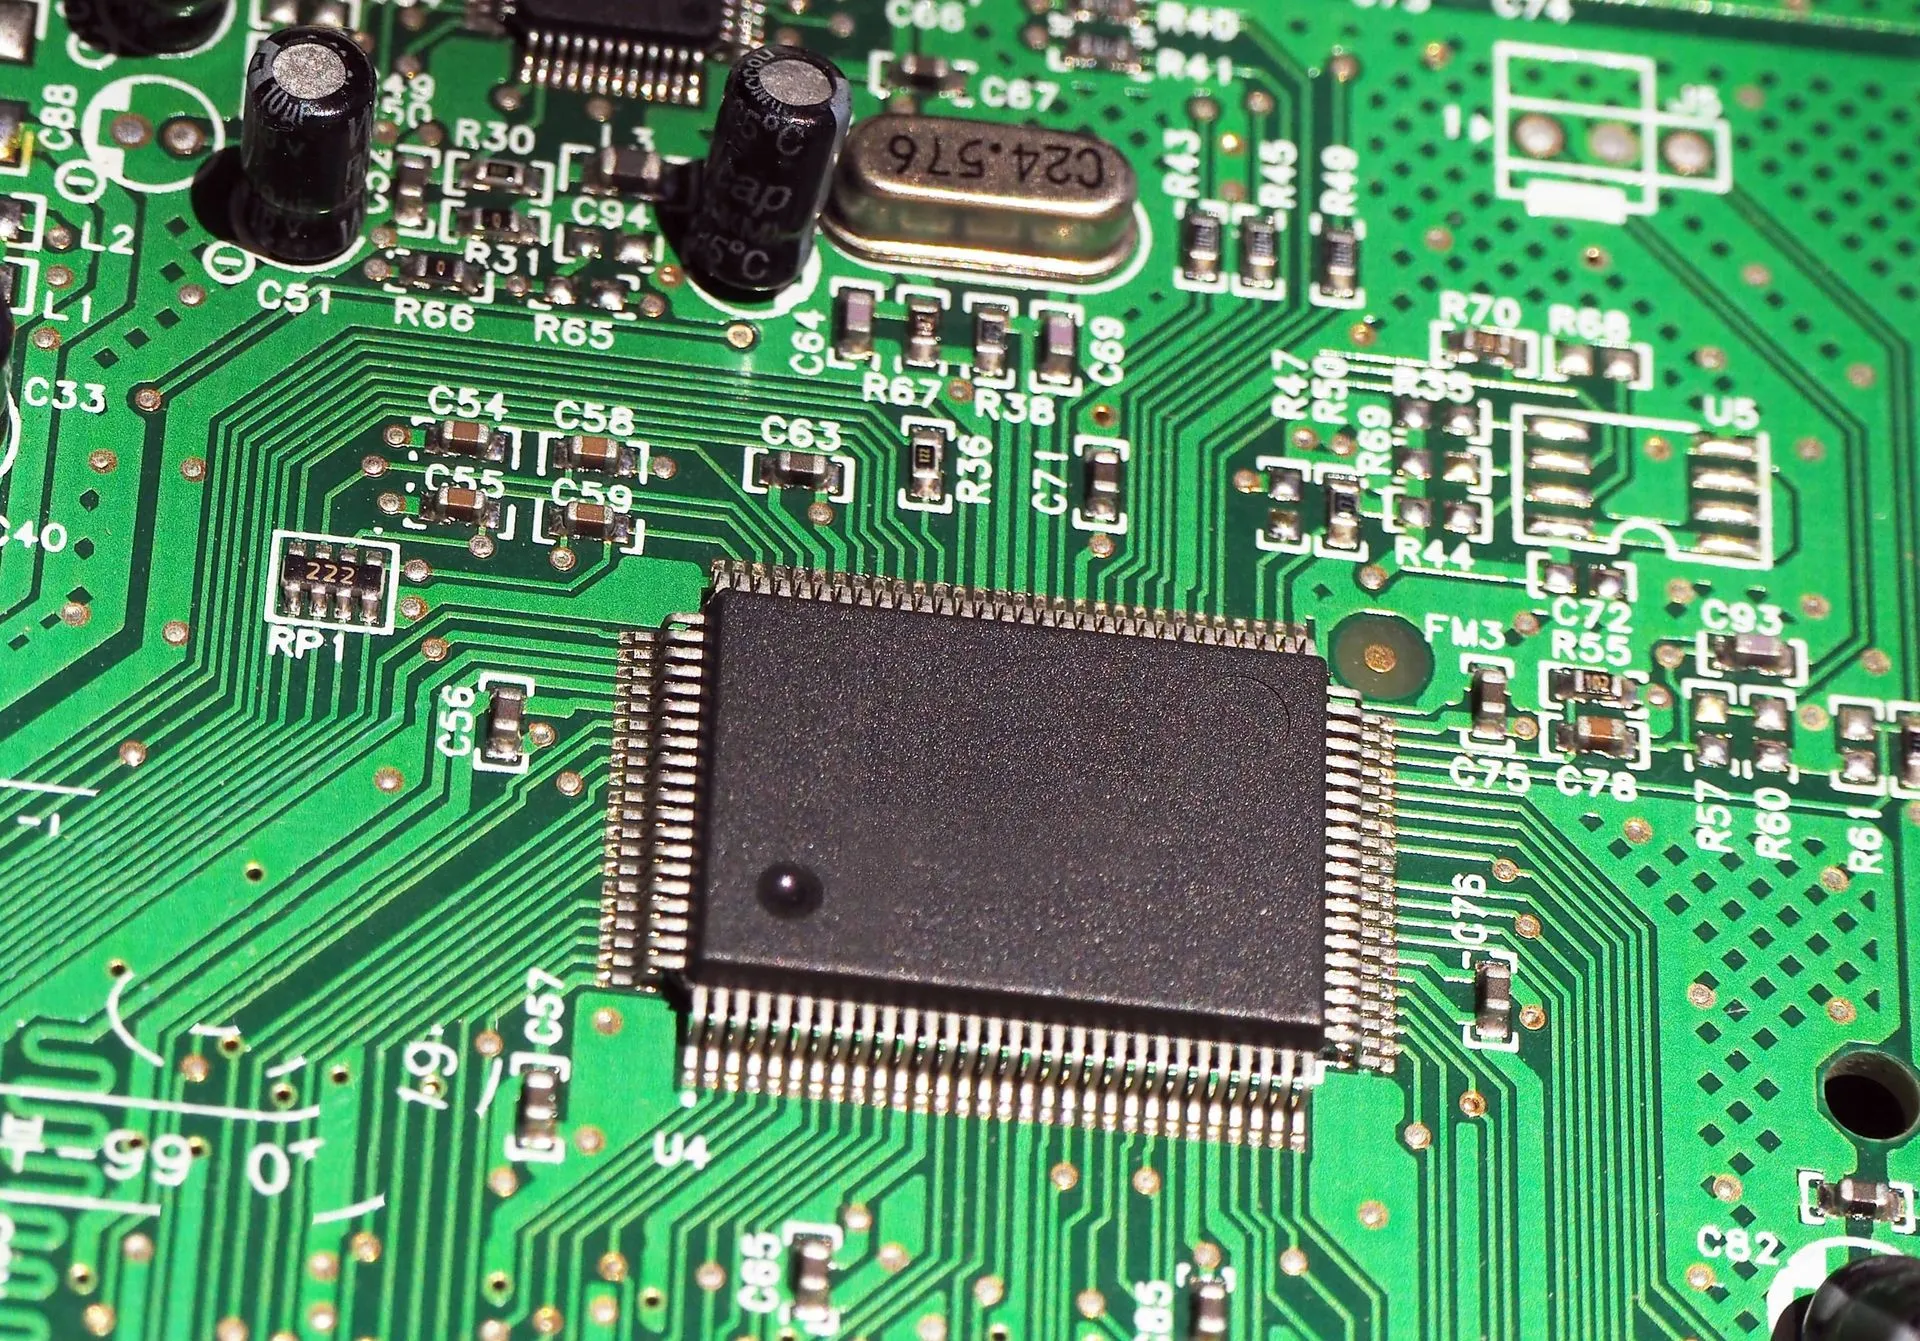
Design and Manufacture a PCB
Once the breadboard prototype works reliably, it’s time to move to PCB development.
Steps for PCB Design:
- Create a schematic using your preferred PCB design software.
- Lay out the PCB by placing and routing components.
- Run Design Rule Checks (DRC) to identify issues.
- Export Gerber files for manufacturing.
Use online PCB services like JLCPCB, PCBWay, or OSH Park for quick and cost-effective production.
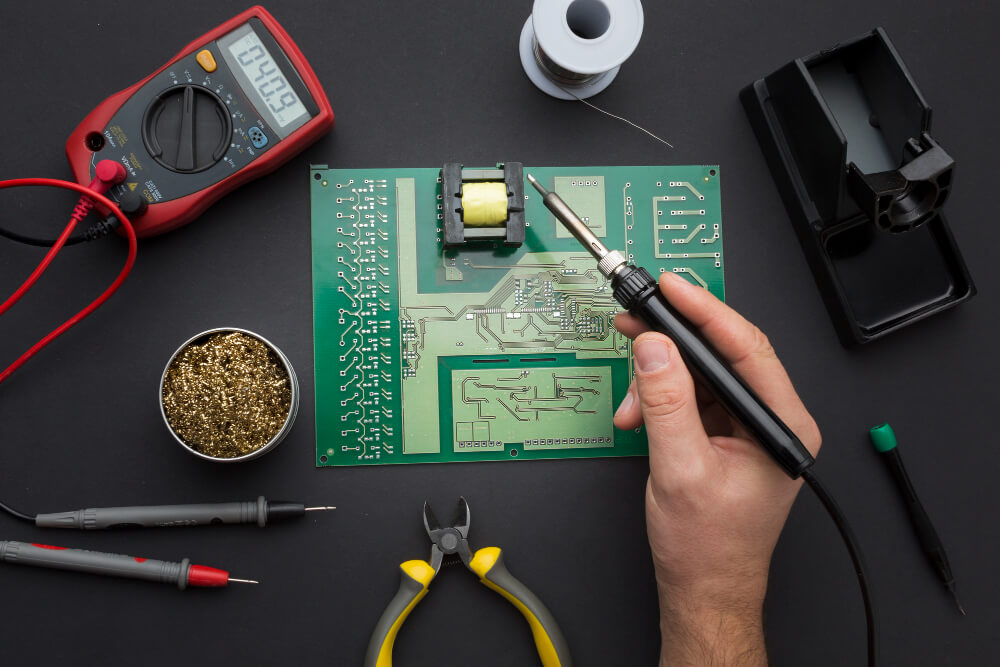
Assemble the PCB
When the PCB arrives, solder your components. This can be done manually using a soldering iron or by using reflow soldering methods if you have surface-mount components.
Tips:
- Use a multimeter to test continuity before powering the board.
- Assemble in stages, testing functionality after each section.
- Follow ESD (Electrostatic Discharge) precautions during assembly.

Program the Microcontroller
If your electronic prototype includes a microcontroller, it’s time to upload the firmware.
Use development environments like:
- Arduino IDE for Arduino-compatible boards
- Thonny or MicroPython for ESP-based boards
- PlatformIO for more advanced and scalable development
Your code should include setup routines, input/output handling, power management, and error logging. Make sure to test each software function systematically.
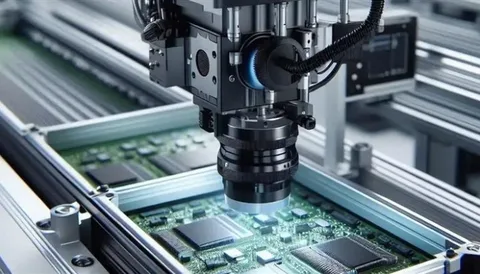
Test and Debug
Comprehensive testing is crucial for identifying hardware and software issues. Here’s what to check:
- Power-on behavior
- Sensor readings
- Actuator control
- Data transmission
- Error handling
- Battery life
Use logic analyzers, oscilloscopes, or simple serial monitors to evaluate performance. Document all findings and iterate quickly.
Enclosure and User Interface Design
If your prototype will be presented or used by others, add an enclosure. 3D-printed cases are popular for custom-fit solutions. Focus on:
- Heat dissipation
- Accessibility to buttons and ports
- Aesthetics for demonstration purposes
- Durability for field testing
Integrating a user interface, such as buttons, LEDs, or touchscreens, enhances the experience and makes the prototype more usable.
Final Thoughts
Creating an electronic prototype is both a technical and creative process. It demands a blend of engineering precision, problem-solving skills, and iterative thinking. From concept to PCB fabrication, each step requires thoughtful planning and execution.
Remember to:
- Keep detailed documentation
- Test early and often
- Stay open to changes
- Collaborate with experienced engineers or consultants when needed
An effective electronic prototype is not just a technical model—it’s your best argument for why your product deserves to exist.
Whether you’re prototyping a smart home device, a wearable gadget, or an industrial sensor, the approach remains largely the same. Focus on function first, iterate quickly, and always keep the end-user in mind.