Wiring a circuit board might sound intimidating, especially if you’re just starting out with electronics. The image of tiny components, a hot soldering iron, and a maze of connections can easily overwhelm a beginner. But the truth is, learning how to wire a circuit board is one of the most empowering and practical skills you can develop in electronics.
At its core, wiring a circuit board means connecting components so they can communicate and function as a unified system. It’s the backbone of modern electronic devices — from your smartphone and laptop to smart home gadgets and DIY projects. Whether you’re creating a basic LED flasher or building a complex sensor-driven project, understanding how the wiring process works is essential. And once you get the hang of it, the possibilities are endless — from fixing everyday gadgets to building your own custom devices from scratch.
What Does It Mean to Wire a Circuit Board?
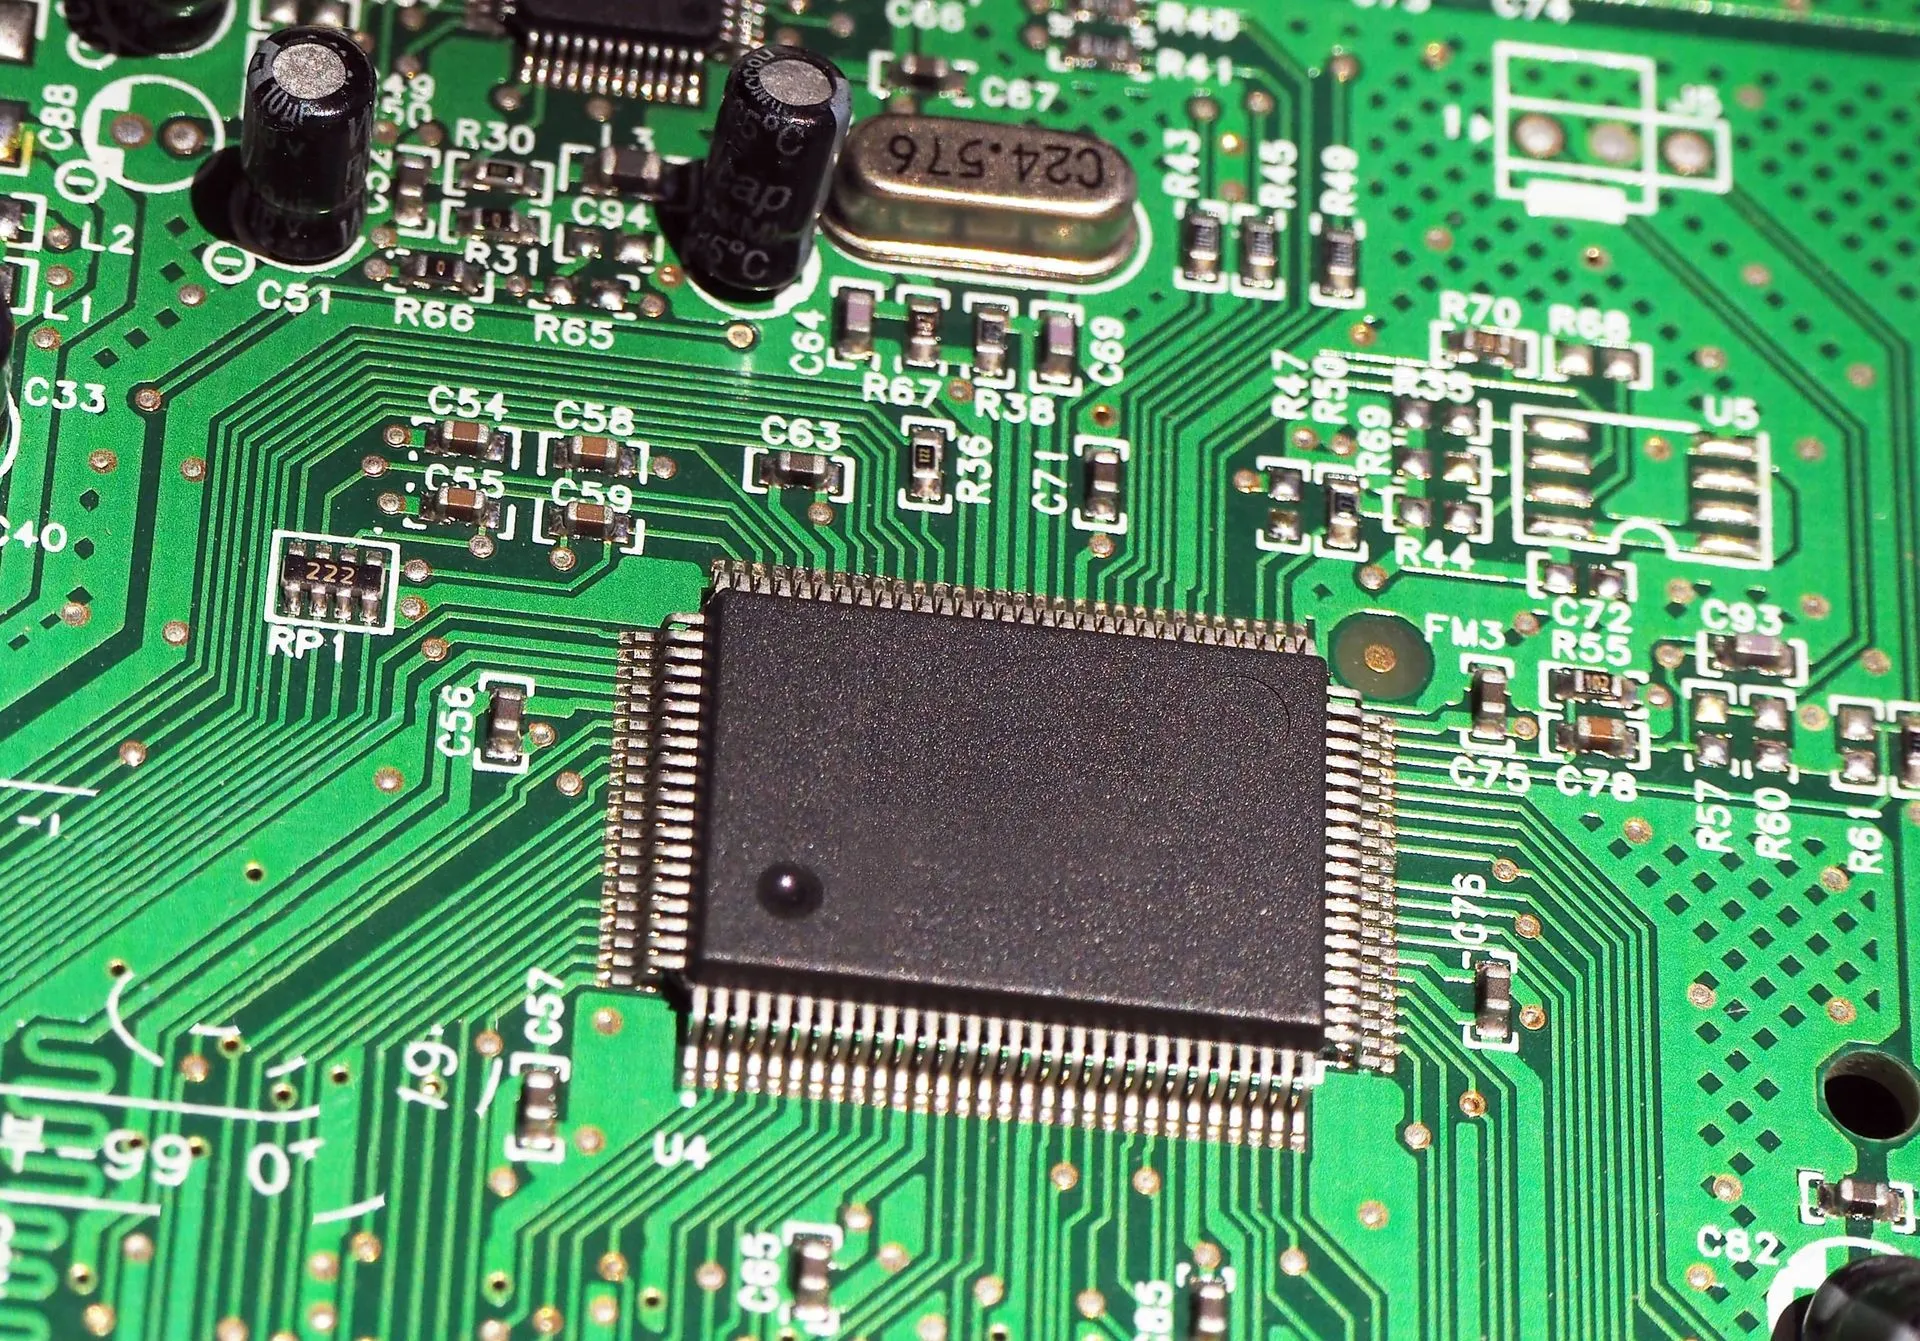
Wiring a circuit board involves creating electrical connections between various components — such as resistors, capacitors, transistors, and integrated circuits — on a board made of insulating material (usually fiberglass) with conductive copper tracks.
These copper paths guide electric current to power devices, perform logic functions, and activate inputs and outputs. Wiring can include soldering components to a printed circuit board (PCB), connecting jumper wires, and integrating the board with switches, power sources, sensors, or displays.
Understanding how to connect wires to a PCB lays the groundwork for almost every modern electronics project, whether you’re fixing a broken gadget or designing your own invention.
Tools Needed for Circuit Board Wiring
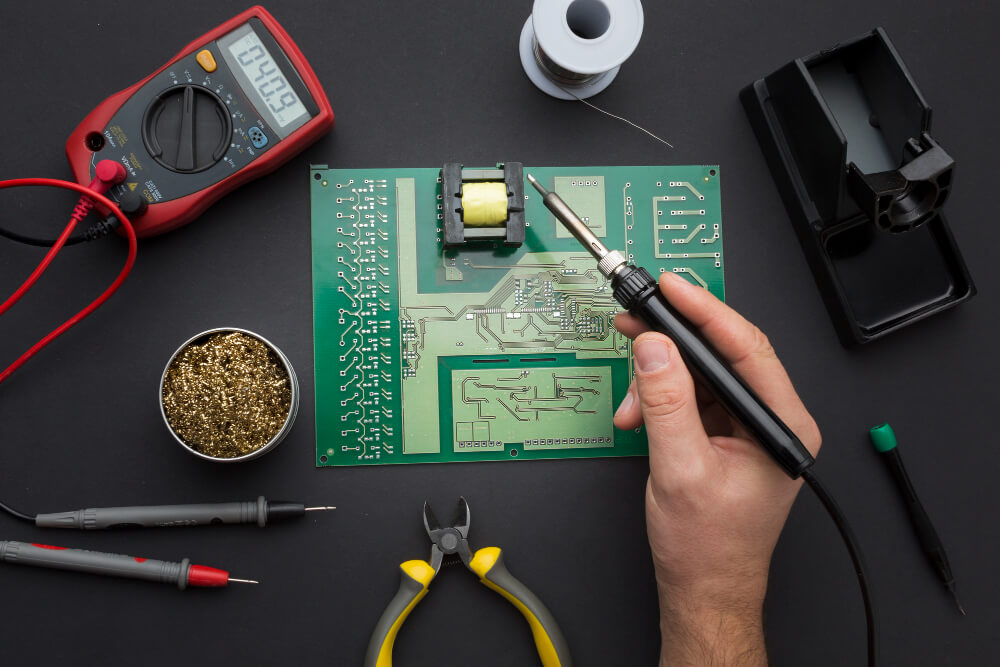
To wire a circuit board successfully and safely, you’ll need the right tools. Here’s a complete list of tools needed for circuit board wiring:
- Soldering iron: Choose one with adjustable temperature control for precision.
- Solder: Use lead-free or rosin-core solder designed for electronics.
- Desoldering pump/solder wick: For correcting mistakes.
- Wire cutters and strippers: To trim component leads and prep wires.
- Tweezers: Ideal for handling tiny parts.
- Multimeter: To check voltage, resistance, and circuit continuity.
- Helping hands or PCB vise: To hold your work steady.
- Magnifying glass or loupe: Useful for inspecting small solder joints.
- Flux pen: Improves solder flow and adhesion.
- Heat shrink tubing or electrical tape: For insulating exposed wires.
Good tools improve both the quality of your work and your learning experience.
Circuit Board Wiring for Beginners
If you’re just getting started with electronics, these beginner steps will walk you through the process:
1. Understand the Schematic Diagram
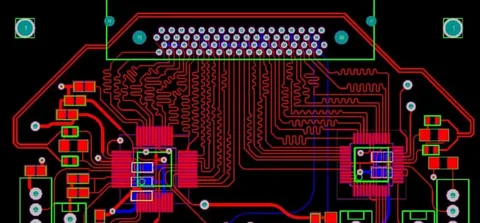
Begin with a clear schematic. This blueprint shows how components are connected. Use software like Fritzing, EasyEDA, or KiCad for visual design. Learning PCB wiring diagram explained tutorials will help you read symbols and connection paths.
2. Lay Out Your Components
Arrange all components — resistors, diodes, capacitors, ICs — on the board without soldering. Group them logically to reduce wiring complexity. Confirm component polarity (for LEDs, capacitors, diodes) before placing.
3. Solder the Components
Once the layout is confirmed:
- Heat the pad and lead simultaneously with your iron.
- Apply solder to the joint (not directly to the iron).
- Remove the iron, let the solder cool.
- Avoid moving components while solder sets.
4. Trim Leads and Add Jumpers
Use flush cutters to remove extra lead length. For connections not served by copper traces, use jumper wires. Keep them short and secure.
5. Connect External Wires
To connect power, switches, or displays:
- Tin both the pad and the wire first.
- Align and heat both points together.
- Add a small amount of solder and let it bond.
Knowing how to connect wires to PCB securely prevents future breaks and malfunctions.
6. Test the Circuit
Before applying full power:
- Use a multimeter to check for continuity.
- Measure resistance across power rails.
- Confirm no short circuits exist.
Troubleshooting now avoids burned components later.
How to Layout and Wire a PCB
Planning your board layout improves functionality and ease of repair. Here’s how to layout and wire a PCB effectively:

- Start on paper or with design software to map your components.
- Place power supply components first, then signal and logic parts.
- Keep high-current traces wide, and route signal paths cleanly.
- Avoid crossing traces — use jumper wires if necessary.
- Leave space between pads and traces to prevent bridging.
- Add labels for easy future reference.
Efficient layouts reduce electrical interference and simplify debugging.
Wiring Components on a Circuit Board
When you’re wiring physical components, follow these best practices:
- Insert components from smallest to largest to keep the board flat.
- Secure wires using solder anchors or mounting clips.
- Route wires along the edge of the board when possible.
- Use red wires for VCC, black for GND, and colors like yellow/green for signals.
- Avoid running wires over ICs or sensitive parts.
Clean and organized wiring components on a circuit board reduces error and improves airflow for heat dissipation.
Soldering Wires to a Circuit Board
Here’s a more detailed look at soldering wires to a circuit board:
Detailed Steps:
- Strip the wire about 6–8 mm.
- Twist and tin the wire tip with solder.
- Tin the PCB pad by applying a small solder bead.
- Position the wire on the pad.
- Press the soldering iron onto both the wire and pad.
- Feed a small amount of solder, then remove the iron.
- Inspect for a shiny, smooth connection.
Use a damp sponge to keep your iron tip clean throughout the process.
How to Assemble a Circuit Board
Once wired, it’s time to assemble everything into its final form:
- Secure the board inside its enclosure.
- Mount connectors or buttons to the case as needed.
- Connect external power sources carefully.
- Add heat sinks to components like voltage regulators or transistors.
- Label terminals and connectors for future reference.
A clean, durable assembly ensures long-lasting performance.
Troubleshooting Tips
Even experts run into wiring issues. Here’s what to check:
- No power: Confirm correct polarity and check for broken wires.
- Component not working: Ensure correct orientation and value.
- Random resets: Check for loose connections or insufficient power supply.
- Unstable output: Add decoupling capacitors near ICs.
- Visual inspection: Use magnification to spot cold joints or bridges.
These techniques are key parts of your ongoing circuit board wiring guide.
Final Thoughts
Mastering how to wire a circuit board takes practice, patience, and a little trial and error. From interpreting circuit diagrams to placing components and making clean solder joints, every step builds your skills and confidence.
Whether you’re assembling a hobby kit, prototyping a custom device, or learning electronics as a new career skill, wiring a circuit board is one of the most rewarding and practical things you can learn in the tech world. So grab your soldering iron — and start connecting the future.
.