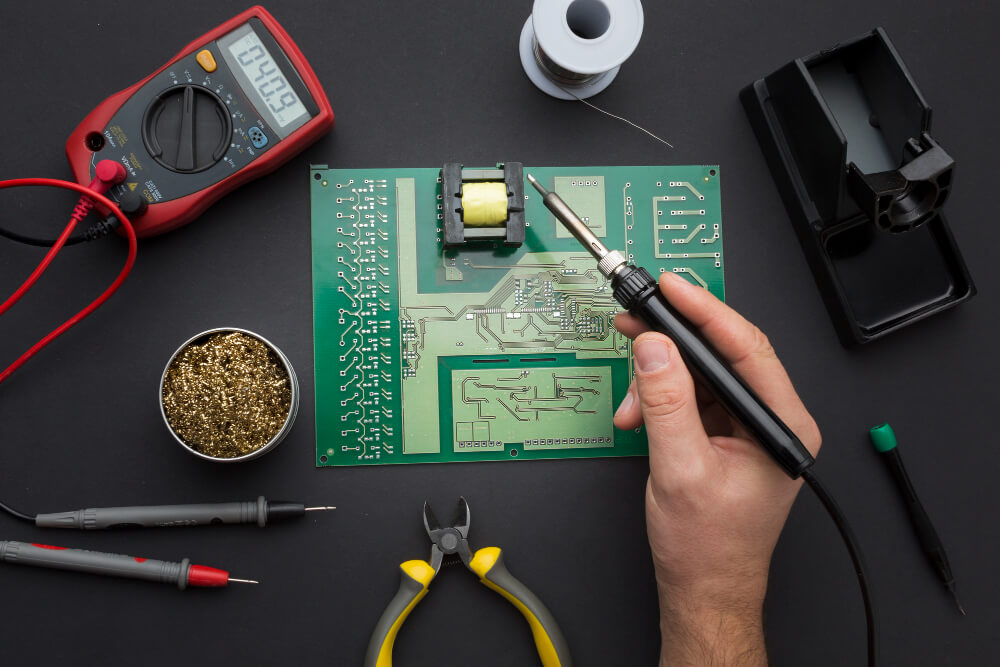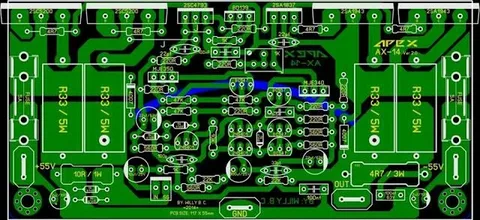
If you’ve ever built or repaired a circuit board, you’ve probably encountered the process of PCB etching. It’s a key step in turning a copper-clad board into a functional printed circuit — but which chemical is used for PCB etching, and what should you know before diving in?
In simple terms, etching is how we remove unwanted copper from the board to reveal the final circuit pattern. This is done with chemicals strong enough to dissolve copper, but controlled enough not to ruin your design. Whether you’re a hobbyist working at home or part of a professional team, understanding your chemical options can make or break your project with Qual-Pro.
What Is PCB Etching (And Why Should You Care)?
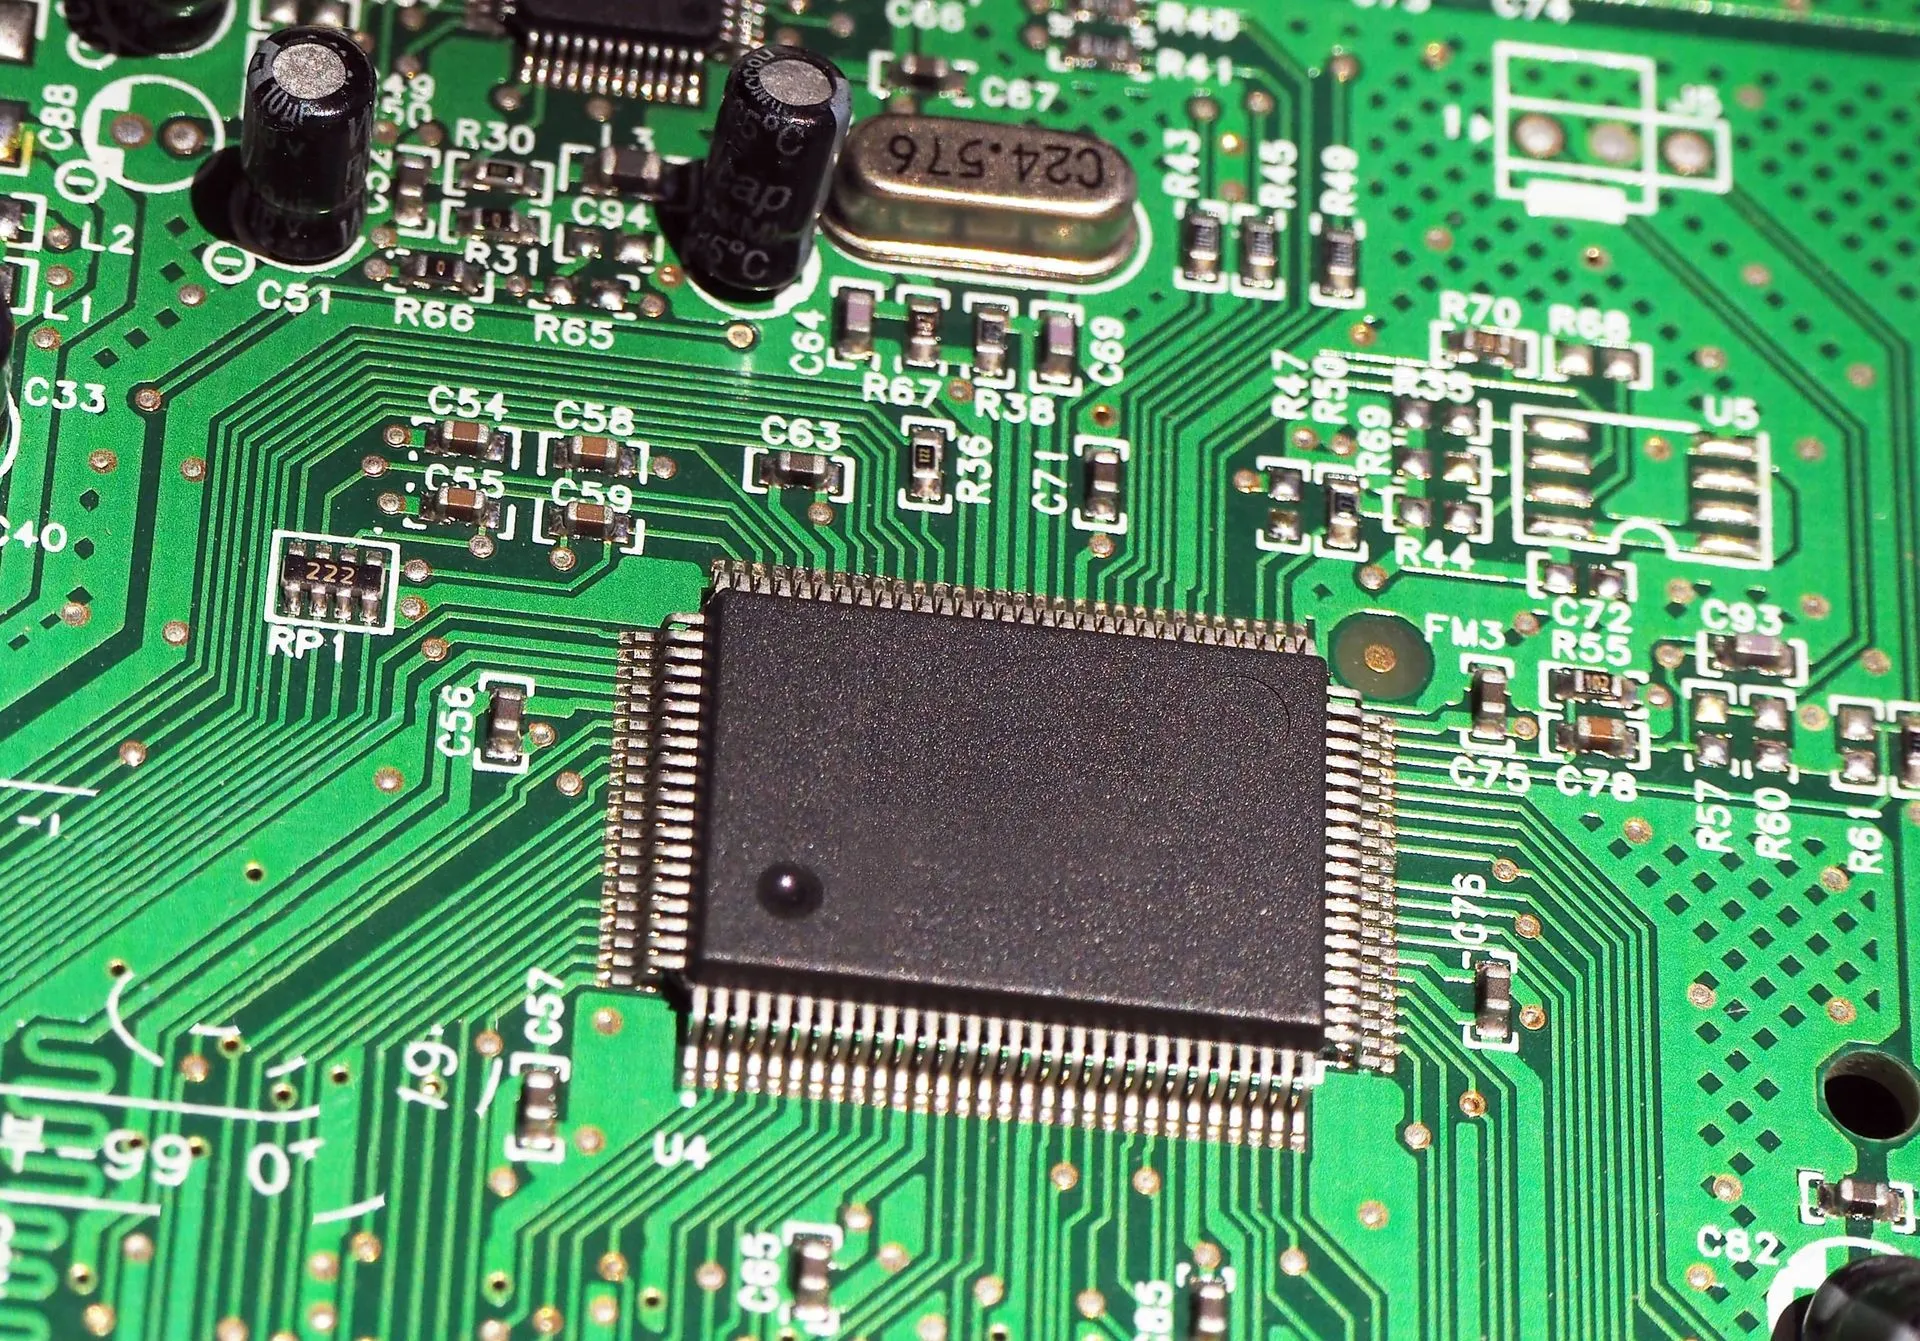
PCB etching removes the excess copper from a circuit board, leaving only the traces that form your electrical pathways. Before etching, a protective layer (like photoresist or toner) covers the parts of the copper that you want to keep. Everything else is fair game — and that’s where the chemicals come in.
The goal? Get clean, sharp copper lines without damaging the board or your components. To do that, you need the right etchant.
So, Which Chemical Is Used for PCB Etching?
There isn’t just one answer — several chemicals are commonly used depending on your goals, environment, and experience level. Here are the most popular options:
1. Ferric Chloride (FeCl₃)
This is the old-school favorite, and with good reason. Ferric chloride for PCB etching is widely available, affordable, and effective.
Why people use it:
- It works at room temperature
- You can find it at most electronics stores
- It’s relatively foolproof for beginners
Things to keep in mind:
- It stains everything (and we mean everything!)
- Disposal can be messy
- It’s not the most eco-friendly choice
Still, for many DIYers, ferric chloride is the go-to chemical for a reason — it gets the job done without a lot of hassle.
2. Ammonium Persulfate
If you’re after something a bit cleaner, ammonium persulfate for PCB etching is a solid alternative.
The pros:
- Doesn’t leave stains like ferric chloride
- It’s clear, so you can see the etching happen in real-time
- Easier to clean up
The cons:
- Needs to be warmed up to work well
- More sensitive to air and moisture
- Slightly slower etching time
For those who value precision and a clean workspace, ammonium persulfate is worth trying.
3. Hydrochloric Acid + Hydrogen Peroxide Mix (HCl + H₂O₂)
Looking for a powerful, fast-acting homemade PCB etching solution? This is the DIYer’s weapon of choice — but it’s not for the faint of heart.
Why people love it:
- Super effective and fast
- The ingredients are cheap and easy to find
Why people fear it:
- Highly corrosive and dangerous if mishandled
- Produces toxic fumes
- Requires good ventilation and safety gear
This method is best left to those who understand chemical handling and are serious about safety.
Safer and Eco-Friendly Alternatives
If you’re worried about handling acids or want to be more environmentally responsible, there are safer options out there:
- Cupric Chloride – Can be regenerated and reused multiple times
- Sodium Persulfate – Similar to ammonium persulfate, but a bit less reactive
These are gaining popularity, especially in professional or school settings where safety and sustainability are top priorities.
What’s the Chemical Process Behind PCB Etching?
To see the big picture, let’s walk through the chemical process for PCB manufacturing:
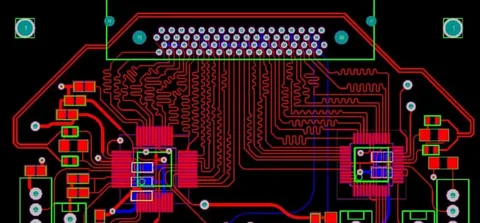
- Design the layout using software like Eagle or KiCad
- Transfer the pattern onto the copper board using toner or photoresist
- Etch the board with your chosen chemical
- Drill holes for through-hole components
- Add solder mask and silkscreen (optional for DIY)
- Assemble and test your board
Etching is where your circuit comes to life — so it’s crucial to get it right.
Which Etching Chemical Is Right for You?
Still wondering what the best chemical for PCB etching is? Here’s a quick comparison:
| Chemical | Skill Level | Messiness | Safety Risk | Speed |
| Ferric Chloride | Beginner | High | Low-Medium | Moderate |
| Ammonium Persulfate | Intermediate | Low | Low | Slower |
| HCl + H₂O₂ | Advanced | Medium | High | Very Fast |
Your choice will depend on your comfort level, project size, and how much you value cleanliness vs. speed.
Quick Safety Tips
No matter which chemical you use, please remember:
- Wear gloves and goggles — always
- Work in a well-ventilated space (outdoors is best for acid mixtures)
- Store chemicals in clearly labeled, safe containers
- Neutralize spills with baking soda (especially acids)
- Dispose of used chemicals responsibly
DIY electronics is fun — but not worth a trip to the emergency room.
Want to Try Etching at Home? Here’s a Simple DIY Mix
This homemade PCB etching solution is popular online and easy to prepare:
Ingredients:
- 2 parts 3% hydrogen peroxide
- 1 part muriatic acid (hydrochloric acid)
Instructions:
- Always add acid to peroxide — never the other way around
- Mix slowly in a plastic container
- Etch outside or under a fume hood
This method is fast and effective but should only be used with extreme caution.
Final Thoughts
So, when it comes to answering which chemical is used for PCB etching, it really depends on your setup and preferences. Ferric chloride remains the most widely used, especially among beginners. Ammonium persulfate is great for a cleaner workspace, while HCl and hydrogen peroxide is the choice for those needing fast results and who know how to handle it safely.
Whichever path you take, keep safety top of mind, follow disposal regulations, and enjoy the rewarding experience of creating your own printed circuit boards from scratch!