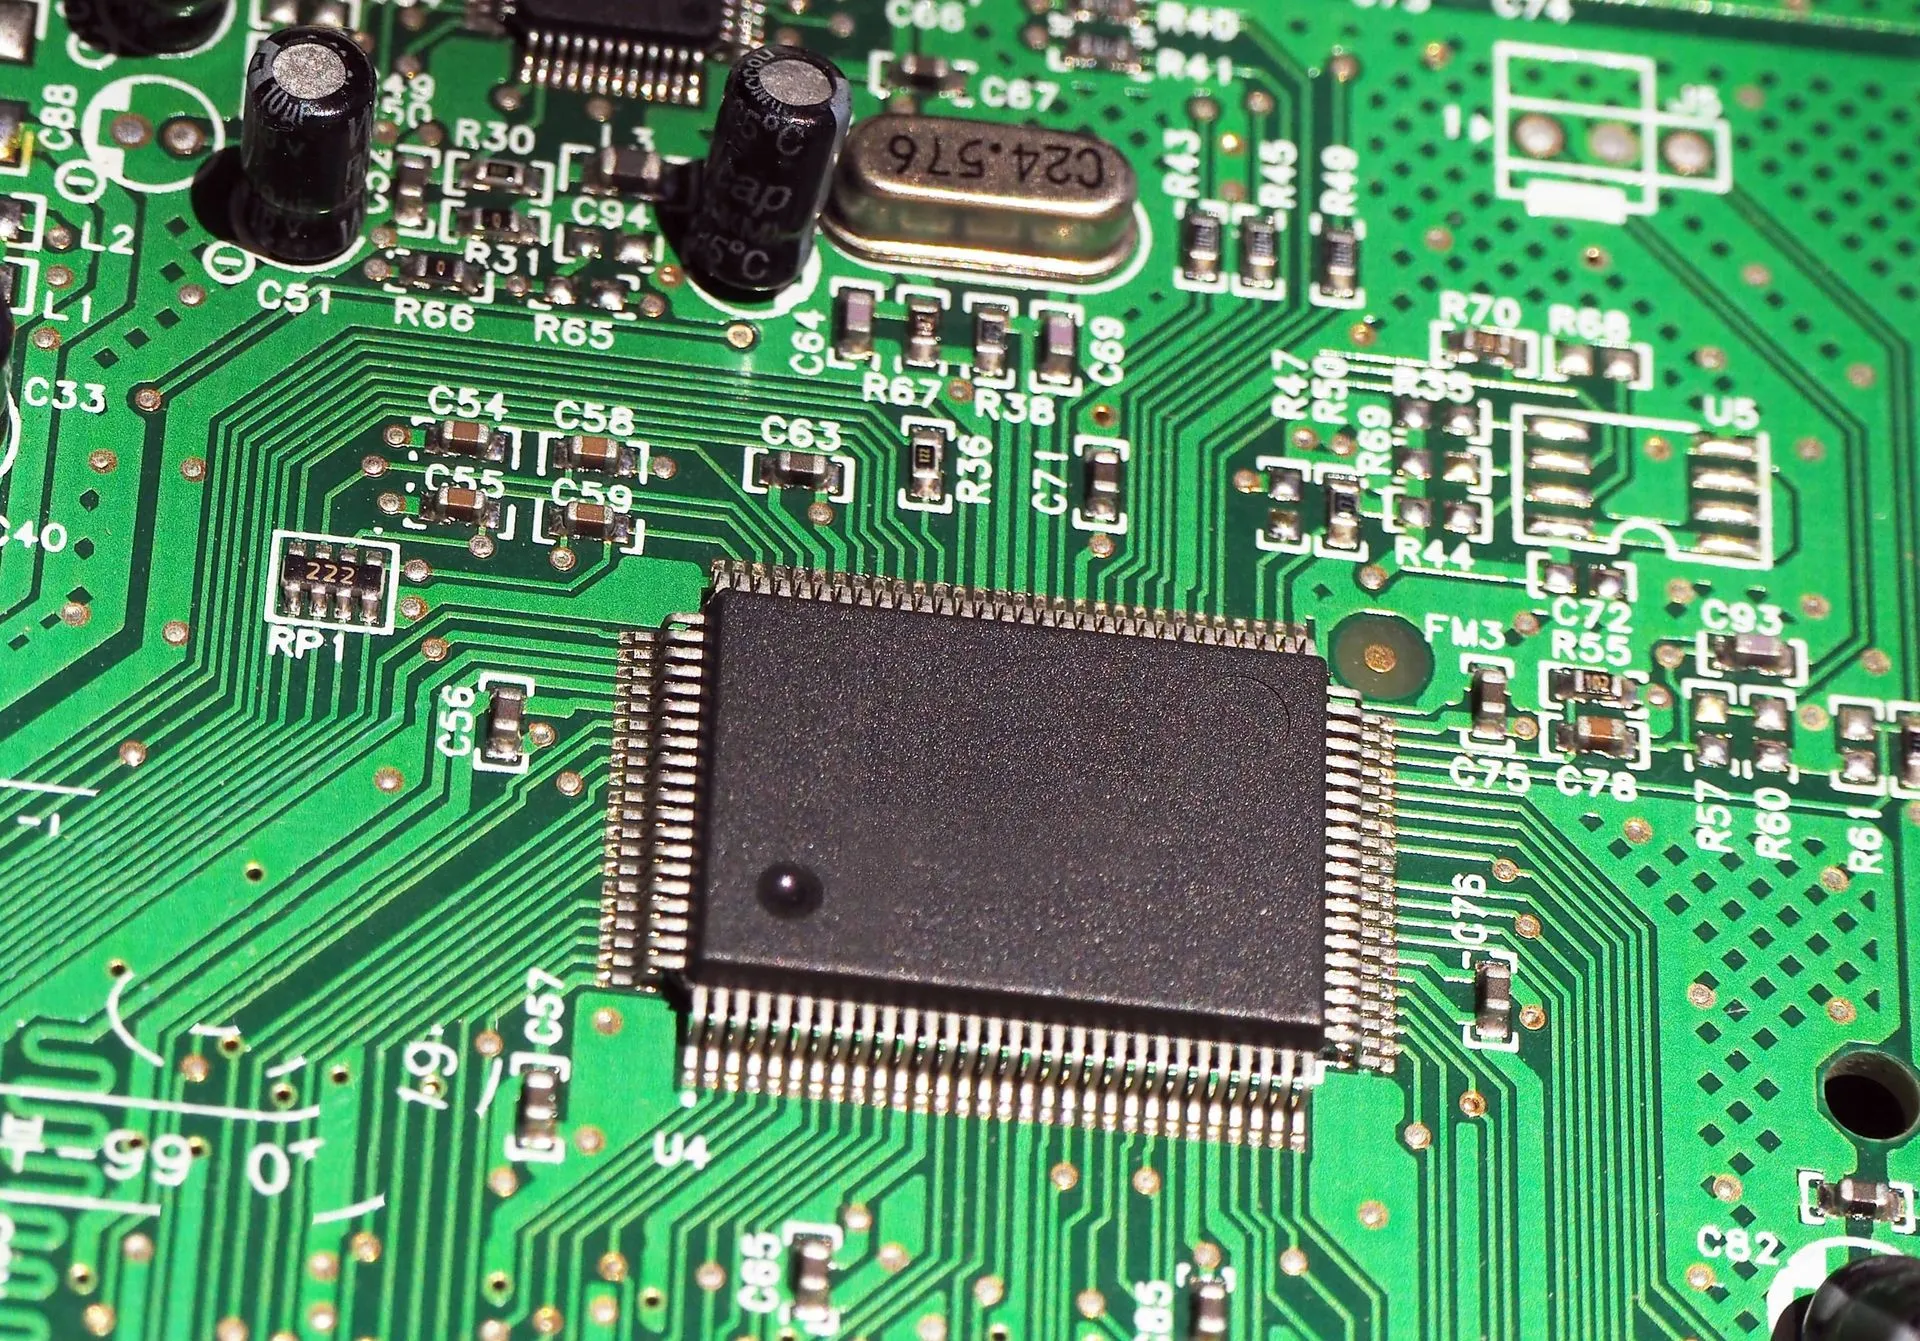
Circuit boards are the backbone of modern electronics, found in everything from smartphones to industrial machinery. When a circuit board fails, it can disrupt operations and lead to costly replacements. Fortunately, many PCB (Printed Circuit Board) issues can be repaired with the right tools and techniques. This guide will walk you through the essential steps to diagnose and fix a faulty circuit board, ensuring long-lasting performance while saving time and money. Whether you’re looking for a DIY circuit board repair guide for beginners or need advanced PCB troubleshooting techniques, this article has you covered.
Common Causes of Circuit Board Failure
Before attempting a repair, it’s crucial to understand why circuit boards fail. Some of the most common reasons include:
- Physical Damage: Cracks, broken traces, or detached components due to mishandling or impact.
- Burned Components: Overheating can cause resistors, capacitors, and other components to burn out.
- Corrosion: Exposure to moisture or chemicals can corrode circuit paths and solder joints.
- Loose or Faulty Connections: Worn-out or improperly soldered joints can lead to intermittent failures.
- Power Surges: Excess voltage can fry sensitive electronic components, leading to complete board failure.
Understanding these issues helps in accurately diagnosing and implementing the correct repair method. If you’re searching for how to fix a short circuit on a PCB, this guide will provide step-by-step instructions.
Tools and Materials Needed for Circuit Board Repair
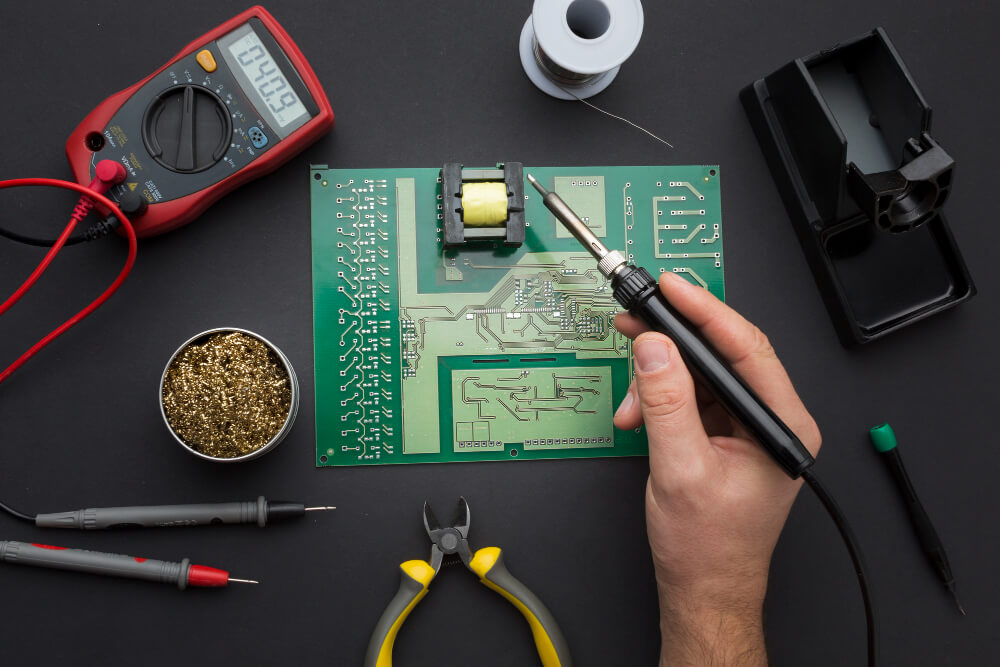
To repair a PCB effectively, you’ll need the following tools and materials:
- Multimeter – For measuring voltage, resistance, and continuity.
- Soldering Iron and Solder – Essential for fixing loose connections and replacing damaged components.
- Desoldering Pump or Wick – For removing faulty components.
- Tweezers and Small Pliers – To handle tiny parts with precision.
- Magnifying Glass or Microscope – For inspecting micro-sized components and fine traces.
- PCB Cleaning Solution and Brush – To remove dirt, corrosion, or flux residue.
- Replacement Components – Resistors, capacitors, transistors, and other electronic parts.
- Heat Gun or Hot Air Rework Station – Useful for desoldering and reflow soldering.
- Insulation Tape and PCB Repair Kit – For repairing broken traces and insulating exposed wires.
Having the right tools ensures a smooth and effective repair process. If you’re wondering how to solder a circuit board without damaging components, investing in quality tools is essential.

Step-by-Step Guide to Repairing a Circuit Board
Inspect the Circuit Board
Begin by visually examining the PCB for obvious signs of damage, such as burned components, cracked solder joints, or broken traces. A magnifying glass can help identify small defects. If you need guidance on how to diagnose circuit board problems, this is the first crucial step.
Test for Electrical Faults
Use a multimeter to check for continuity in the traces and measure voltage levels at key points. If there is no power flow, it may indicate a broken connection or a damaged component. This step is particularly useful for those looking for how to check a circuit board for faults using simple tools.
Identify and Remove Damaged Components
If a resistor, capacitor, or IC (integrated circuit) appears burned or faulty, use a desoldering pump or wick to remove it carefully. Ensure not to damage adjacent components. This is an essential technique in replacing damaged electronic components on a PCB.
Replace Faulty Components
Once the damaged component is removed, replace it with a matching new part. Carefully solder the new component in place, ensuring solid connections to prevent future failures. If you’re a beginner, searching for how to replace a capacitor on a circuit board can help you refine your skills.
Repair Broken Traces
If a PCB trace is broken, you can use a conductive ink pen or a thin wire to bridge the gap. Solder the wire securely to restore the electrical connection. This method is ideal for those needing how to repair broken PCB traces at home.
Clean the Circuit Board
Use a PCB cleaning solution and brush to remove any excess flux or debris. This ensures clear visibility of solder joints and helps prevent corrosion. For best results, look into how to clean a corroded circuit board without damaging it.
Test the Repaired Circuit Board
After completing the repair, test the PCB with a multimeter to confirm proper voltage levels and continuity. Power up the device carefully to check if the board functions correctly. This step is crucial for those wondering how to test a circuit board after repair.
Preventive Maintenance Tips
To extend the life of circuit boards and minimize failures, consider these preventive measures:
- Avoid Moisture and Corrosion: Store circuit boards in a dry environment and use conformal coating for added protection.
- Use Proper Power Supply Protection: Installing surge protectors and voltage regulators can prevent power spikes from damaging components.
- Regular Cleaning: Dust and debris can lead to overheating; periodic cleaning prevents potential damage.
- Inspect and Resolder Joints: Over time, solder joints may crack due to thermal expansion. Inspecting and reflowing them can prevent future failures.
For those looking for best practices to maintain circuit boards, these tips will help ensure long-term reliability.
When to Seek Professional Help
While many PCB repairs can be performed at home, certain issues require professional expertise, such as:
- Severe Damage: If the board has multiple broken traces or burned layers, professional rework might be necessary.
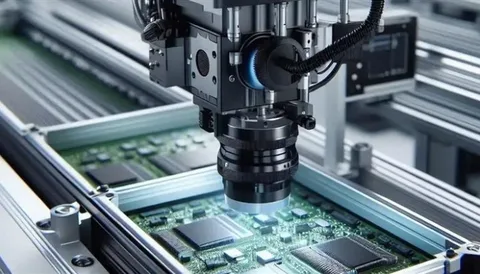
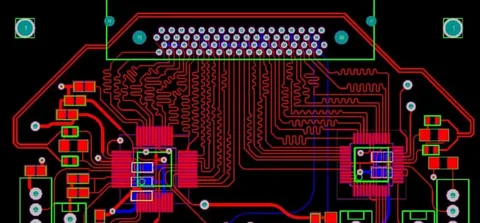
- Complex Multi-Layer PCBs: High-density circuit boards with multiple layers require specialized tools for accurate repair.
- Micro-Sized Components: Handling tiny surface-mount devices (SMDs) requires precision tools and experience.
If you’re unsure about the repair process, it’s best to consult an experienced technician to avoid further damage. Searching for where to get circuit boards professionally repaired can help you find a reliable service provider.
Conclusion
Repairing circuit boards is a valuable skill that can save money and extend the lifespan of electronic devices. By understanding common failures, using the right tools, and following a systematic repair process, you can restore functionality to many damaged PCBs. With proper care and maintenance, circuit boards can remain operational for years, reducing the need for costly replacements.
This guide provides a comprehensive approach to circuit board repair while ensuring long-term reliability. Whether you’re a DIY enthusiast or a professional technician, mastering PCB repair techniques is a worthwhile investment in maintaining electronic devices efficiently. If you need more insights, explore how to troubleshoot and fix a faulty PCB at home for additional repair strategies.