In the realm of automotive and electrical maintenance, knowing how to repair wire harness systems is an invaluable skill. Whether you’re dealing with vehicle wiring, industrial machinery, or home electronics, damaged wire harnesses can lead to serious malfunctions or complete system failures. In this in-depth guide, we’ll walk through everything you need to know to properly repair wire harness assemblies, ensuring optimal performance, safety, and longevity.
What is a Wire Harness and Why It Fails
A wire harness is an organized bundle of wires, terminals, and connectors that transmit electrical power or signals. They are used in automobiles, airplanes, computers, industrial machinery, and more. Despite their durability, wire harnesses can degrade or get damaged due to several factors including:
- Wear and tear
- Environmental exposure
- Rodent damage
- Corrosion
- Mechanical stress or improper installation
Understanding the root cause is the first step before starting any repair wire harness work.
Tools and Materials Required to Repair Wire Harness
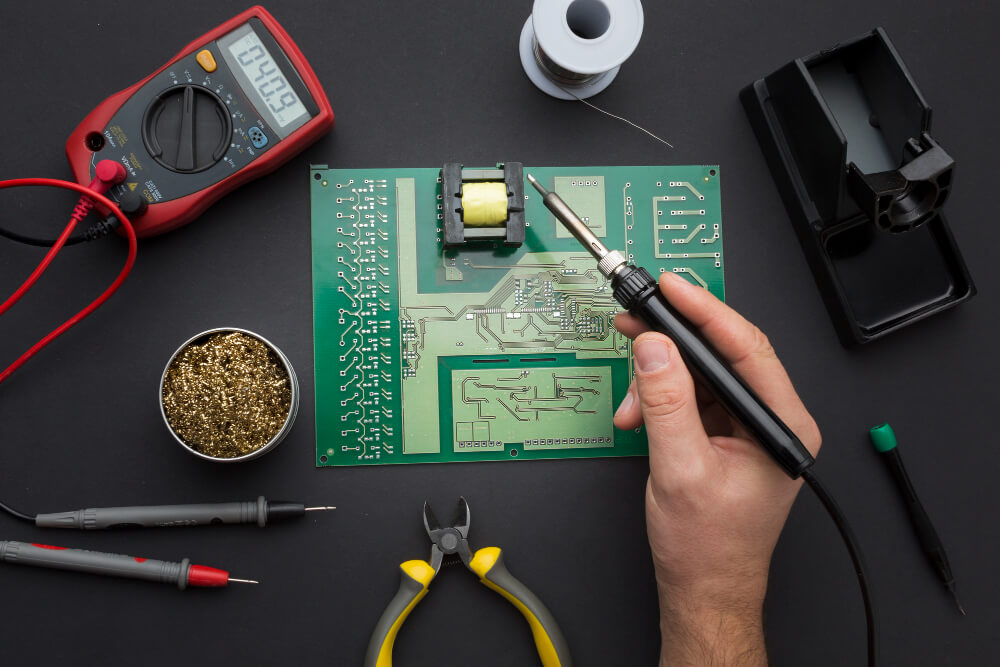
Before initiating the repair wire harness process, gather the following tools and supplies:
- Wire strippers
- Crimping tool
- Heat shrink tubing
- Electrical tape
- Soldering iron and solder
- Multimeter
- Replacement connectors
- Cable ties
- Protective conduit (optional)
Having the right tools ensures a reliable and professional-grade wire harness repair.
Step-by-Step Guide to Repair Wire Harness
Safety First: Disconnect Power Source
Always disconnect the battery or power supply before performing any repair wire harness operation. This minimizes the risk of electric shock and prevents damage to electronic components.
Inspect and Identify the Damage
Carefully examine the wire harness to locate the fault. Look for:
- Frayed or broken wires
- Melted insulation
- Corroded terminals
- Loose or disconnected connectors
Use a multimeter to check continuity and pinpoint the broken or shorted wires that require attention. Identifying the exact issue is crucial for a successful repair wire harness process.
Remove Damaged Sections
Once the problem area is identified, use wire cutters to remove the damaged section of the wire. Ensure to cut far enough from the damaged area to reach clean, untarnished copper wire. If connectors are corroded or cracked, remove them as well.
Strip and Prepare Wires
Using wire strippers, remove approximately 1/4″ to 1/2″ of insulation from each end of the wires to be joined. Be gentle to avoid nicking the wire strands which could lead to premature failure after the repair wire harness job is completed.
Join Wires Securely
Depending on the situation, there are a few techniques you can use:
- Crimping: Use butt connectors and a crimping tool for a solid mechanical and electrical connection. Always choose the correct connector size.
- Soldering: For added security, twist the wire ends together, apply solder, and let it cool. Soldering is ideal for environments subject to vibrations.
Use heat shrink tubing over the splice before connecting the wires, then shrink it with a heat gun once the connection is made. This seals the joint from moisture and contaminants — a vital step in any repair wire harness task.
Replace or Repair Connectors
If the connectors are damaged, use replacement connectors compatible with the original design. Crimp or solder them to the prepared wire ends. Be sure the polarity and wire sequence match the original layout to avoid functionality issues.
Rebundle and Reinforce the Harness
After the electrical repair is completed:
- Use electrical tape or heat shrink to protect and organize wires.
- Group wires using zip ties.
- Insert the repaired section into a split loom or conduit to shield it from abrasion and environmental exposure.
This restores the wire harness to its original protection level and aesthetic integrity, completing the repair wire harness process effectively.
Tips for Long-Lasting Wire Harness Repairs
- Label wires if disassembled to ensure correct reconnection.
- Use automotive-grade materials for vehicle applications to withstand high heat and vibrations.
- Conduct a continuity test after the repair to ensure the circuit functions correctly.
- Avoid using only electrical tape without mechanical connection — it may unravel over time.
- Keep a wiring diagram handy to cross-reference during complex repairs.
Reliable repair wire harness techniques go beyond just fixing; they aim to restore or enhance the original function and durability of the system.
When to Replace Instead of Repair
In some cases, a repair wire harness may not be the best solution. Consider full replacement if:
- Multiple wires are damaged over a wide section
- There’s heavy corrosion or water intrusion
- The harness has previous makeshift repairs
- The cost or time to repair exceeds the value of a new one
A new wire harness guarantees factory specifications and often comes with a warranty.
Common Applications of Wire Harness Repair
- Automotive: Engine harness, headlight wiring, trailer connections
- Marine: Navigation systems, bilge pump wiring
- Aviation: Avionics systems and control wiring
- Home Electronics: Appliance controls, computer systems
- Industrial Machinery: Control panels and robotic arms
Knowing how to repair wire harness setups across these domains helps reduce downtime and improves efficiency.
Conclusion:
Performing a meticulous and thorough repair wire harness operation can save time, money, and ensure consistent performance across critical systems. Whether you’re a professional technician or a skilled DIY enthusiast, the ability to detect, repair, and protect electrical harnesses will always be in demand.
With the right tools, materials, and attention to detail, anyone can confidently repair wire harness assemblies, keeping vehicles, machines, and electronics functioning as intended.